|
|
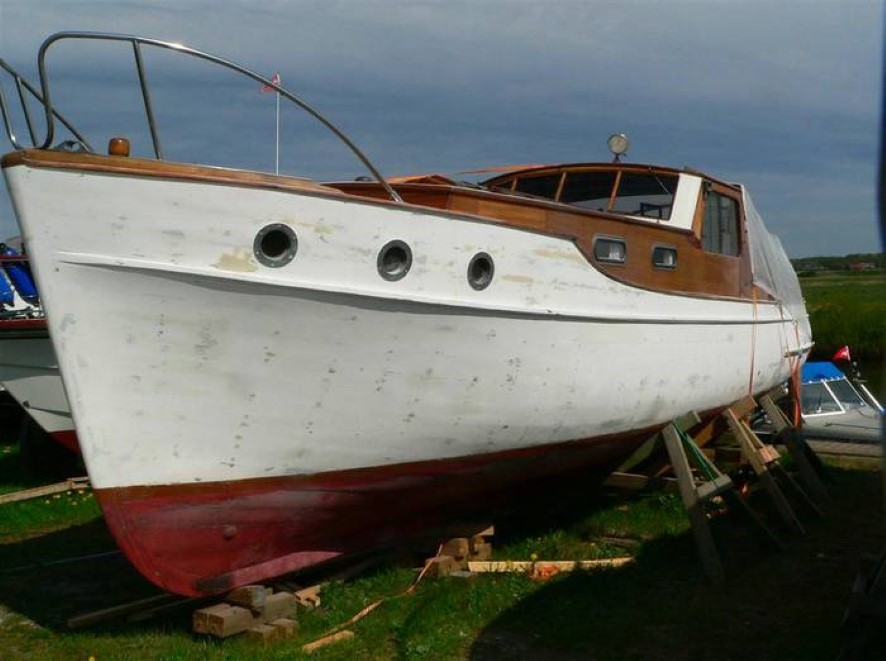
I haven't done any major renovation projects this year, it has to wait until we get the boat home. Going forward, we'll take it home every fall. Rusty screws in the hull There were some rust spots on the freeboard from screws where the stuffing was no longer tight. Most of them were stuffed with putty and the wood was bad a few mm around the hole. It was necessary to cut the bad wood away - the ideal solution would be to drill a larger hole and glue a plug in, but I couldn't find a method to drill the hole (there is a screw in it). Therefore, the solution was to remove the wood, clean the rust off, saturate both the wood and residual rust with the Owatrol D1 and then putt the hole out with polyester. If I find a suitable method, wooden plugs will be glued in later.
Below the waterline I did the same thing, just using bitumen pulp instead of polyester. I also replaced a number of bad screws with stainless steel screws. It will be necessary to replace several screws below the waterline soon, perhaps all of them.
|
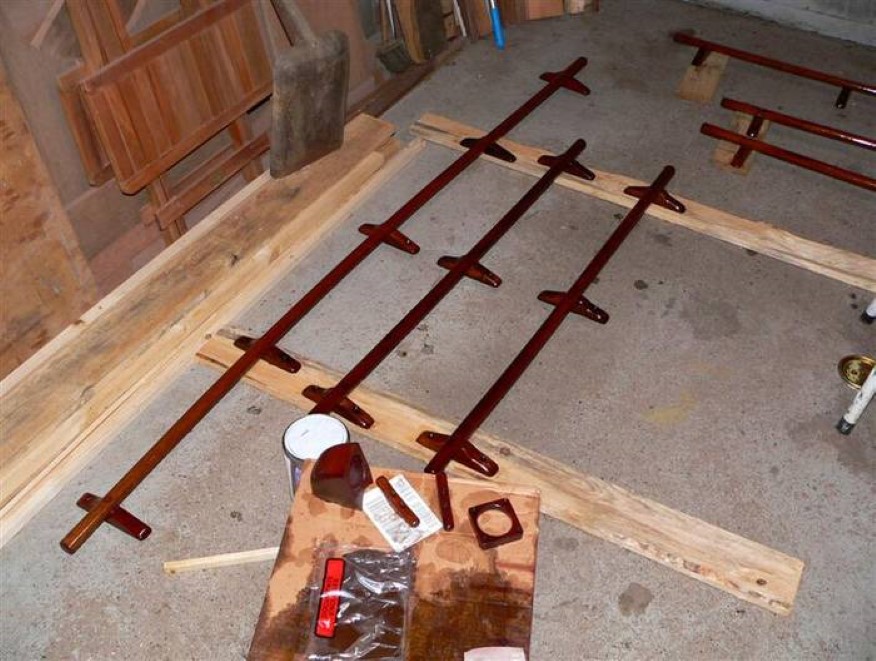
PaintingThe hull above the waterline was sanded and smoothed with filler before painting it with 2 layers of white Sigma paint. Below the waterline, I primed with Hempel Yacht Primer where it was necessary and then gave it all 2 layers of red Hempel Basic antifouling. Caulking Due to the extreme drought this spring, it was necessary to caulk 5 boards on the front 1.5 meters, the joint in the heel, the aft 1 meter on either side of the keel and the bottom of the transom. In addition, I have filled cracks in the keel with Proof 10. Renovation of the handrails The handrails on the cabin roof and the wheelhouse roof needed to be renovated, the varnish was in very poor condition and the construction had some serious flaws - the round sticks were attached to the supports with wood screws only, that over time had become loose. It was just about to go really wrong for my buddy Gert and my little daughter Nina on the very first boat trip. They were on their way along the side when the round stick went loose and only Gerts fast reaction saved them from going overboard. Phew!
I have now changed the design so that the round sticks are fastened with stainless steel screws through both stick and base. I sealed the screws with wooden plugs, so they are invisible. New round sticks have been made for the front handrails as well as 6 new mahogany supports. The handrails have been saturated with Owatrol D1 and finished with 6 layers of Owatrol D2.
|
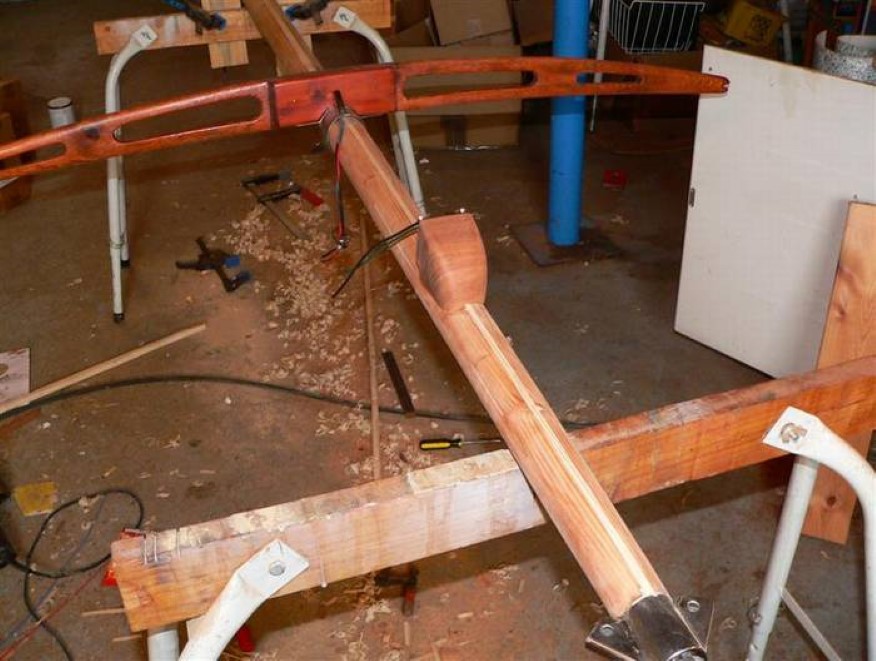
Renovation of the mast
The mast originally had only a 2-wire cable for the lantern, but I also wanted to have an anchor lantern and a deck light in the mast. Therefore, it was necessary to cut a new cableway all the way up in the mast. I started by scraping off the varnish, sanded the mast and removed the old cable. Since the mast does not have a particularly manageable shape, I made a cradle to put it in while I cut the with the router. For the cable , I cut a pinewood list which was glued in with wood glue.
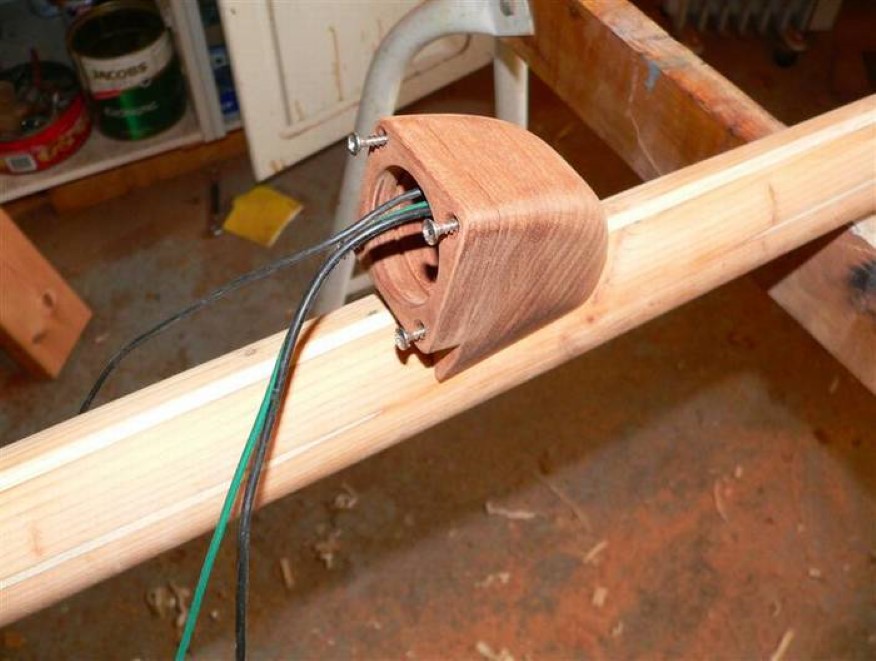
New fittings had to be made for mounting the anchor lantern. The deck light was a bit of a problem - it was not possible to buy anything but large plastic lights that certainly wouldn't fit the boat. So there was nothing else to do but make a lamp out of a piece of mahogany. As a light source, I used a regular 12v spotlight. The mast was saturated with Owatrol D1 and finished with 6 layers of Owatrol D2.
As we in Ribe have a low bridge over the river, the mast had to be altered so that it can be easily laid down. The mast foot was rebuilt so that the mast is now secured with a through bolt, and the rigging screw on the forestay was removed in favor of a single cut rope.
|
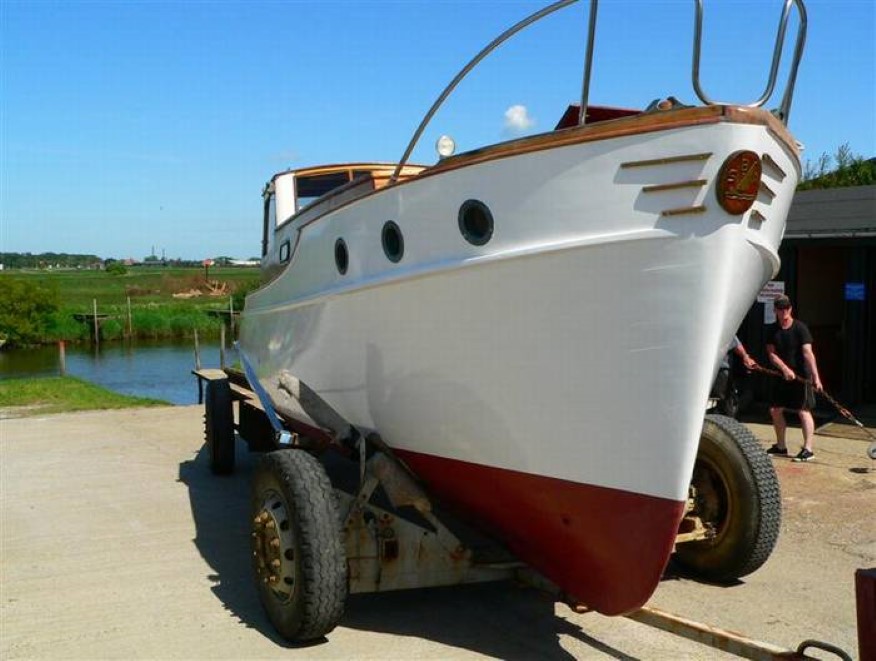
Renovation of the bow emblemThe boat is equipped with a beautiful emblem from the Sailing Club Bugten Århus (as far as I know), but it was eventually in need of some TLC. I scraped off the varnish, saturated the wood with Owatrol D1 and painted the gold bronze letters and finally, gave it 6 layers of Sadolin Yacht Varnish. I couldn't use Owatrol D2 because I didn't remove all of the old varnish, and Owatrol doesn't work on top of old varnish. Removal of the dinghy brackets The boat was designed for a small dinghy to be attached on top of the aft cabin, but I don't like that solution, so I decided to remove the brackets. The hatch to the aft cabin was fitted with a pair of mahogany wings, which the dinghy could lay on top of, that had to be removed. I cut them off and sealed the cuts and gave the hatch a couple of layers of Sadolin Yacht varnish. Temporary superstructure protection
There was some peeled varnish on the superstructure, but since it is all supposed to be scraped off in the winter 2007-2008, I have only taken care of the worst of it and protected the wood with the Owatrol D1.
|
|
|