|
|
Repair of deckhouse and foredeck
|
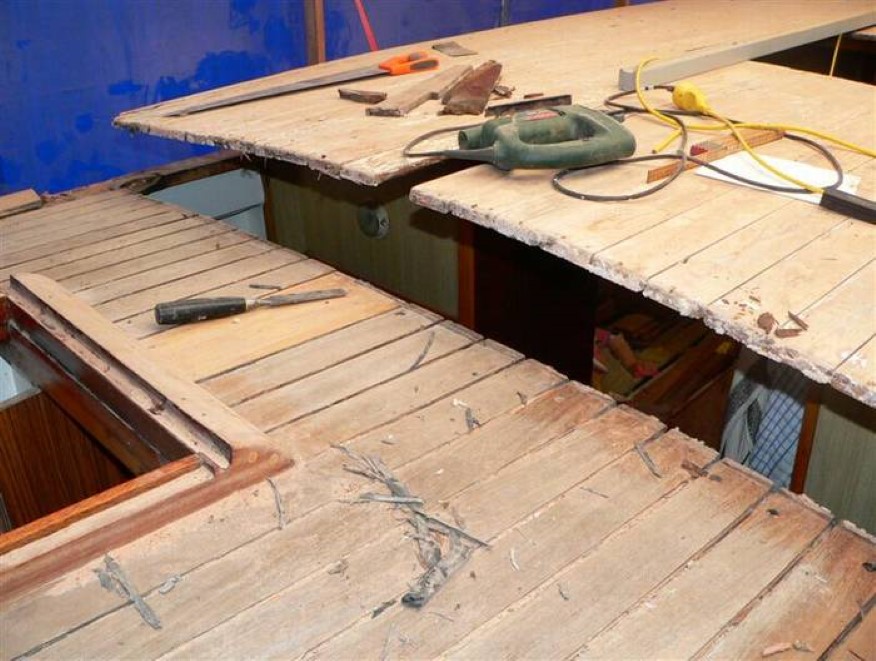
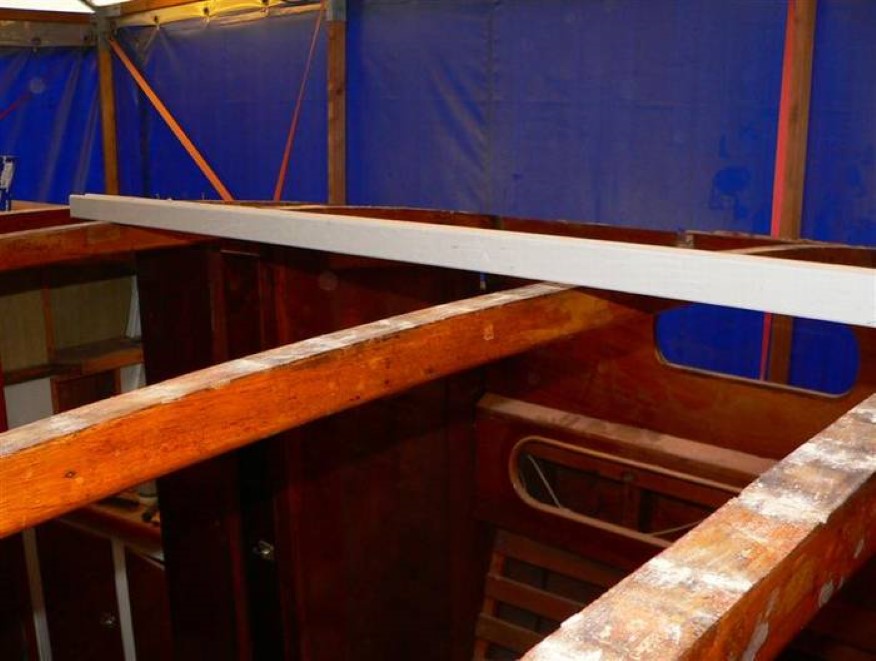
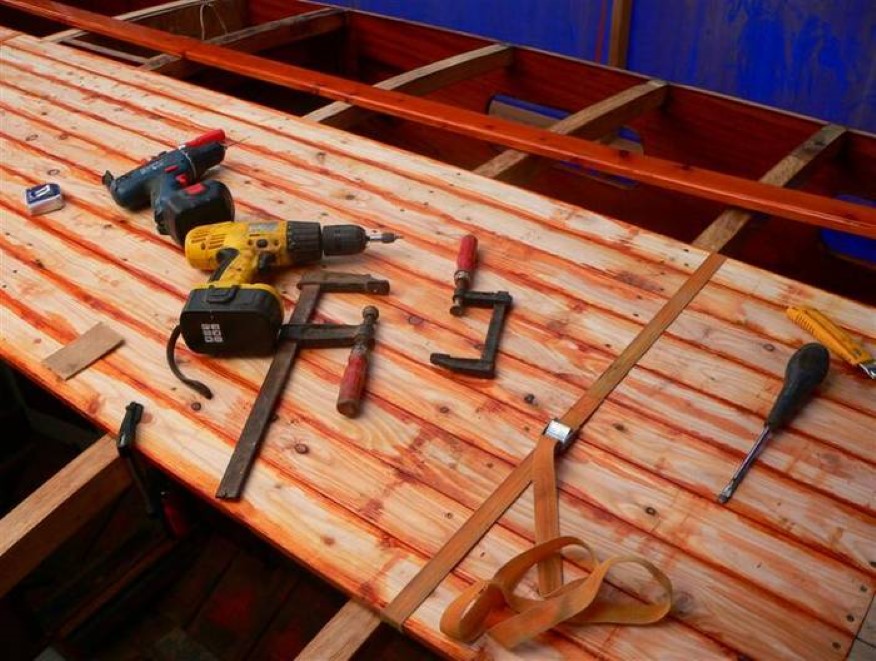
I have decided to give the deckhouse a thorough renovation. The leading-edge will get round corners again, and because the cabin roof has sunk 1.5 cm under the mast and because the roof needs to be scraped clean underneath, I have decided to replace the whole roof, or at least most of it - it's not possible to replace the 30 cm beneath the front of the wheelhouse.
I have now removed most of the leading-edge, the sides and deck of the first meter and I also have to replace a bit underneath. Also, the outer teak bar on both sides needs to be replaced in order to make the deck fit around the new corners. The roof will be the next to be removed, my plan is to cut it above the rear beam just in front of the wheelhouse. The planks are 72 x 16 mm slightly stained pine, and I'll make the new roof out of the same type of wood. However, I plan to put 4 mm plywood on top and finish with a layer of fiberglass - the reinforcement won't harm. The 2 whole beams in the main cabin need to have 1.5 cm oak glued on top to fit.
|
September 21, 2008:
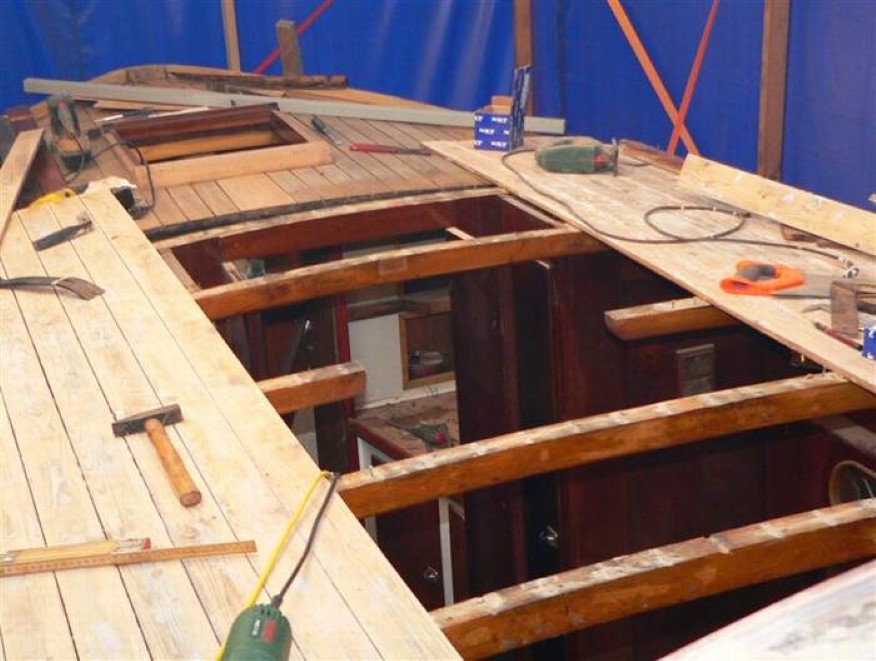
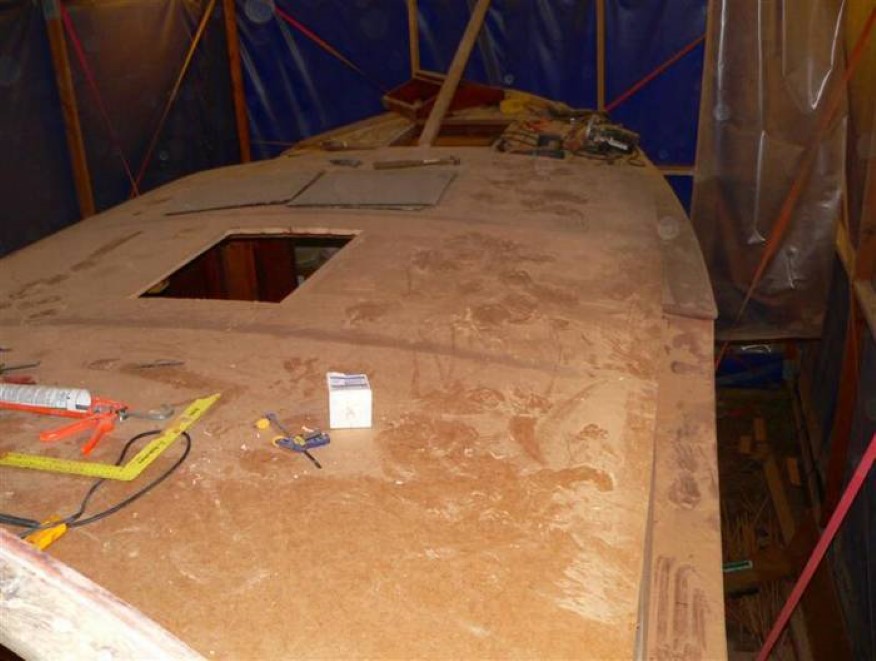
After a week with the flu, and a weekend of an 80th birthday on Saturday and a children's birthday on Sunday not much has happened to the boat. However, I have managed to remove the entire deckhouse roof, so now the destructive phase is over which is good because frankly, it looks like it will never be a boat again. But the old planks have a lot of black spots from moisture, and the old varnish needs to be removed, so I decided to scrap them and stain and varnish the new ones before mounting them. That will look much better and be easier to make. It also provides plenty of room and light to renovate the interior, and I want to finish all of the insides of the cabin before installing the roof again.
|
|
October 26, 2008:
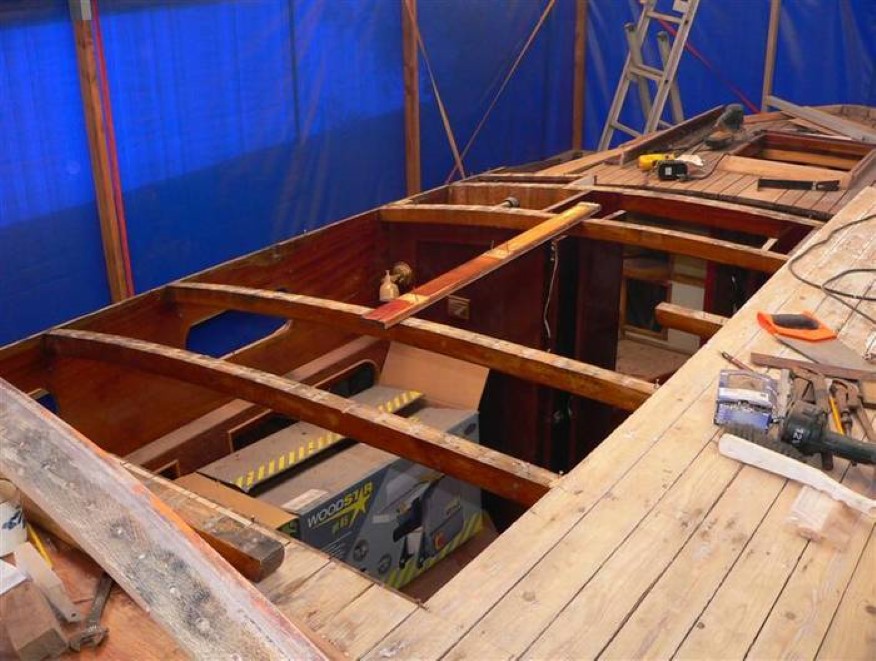
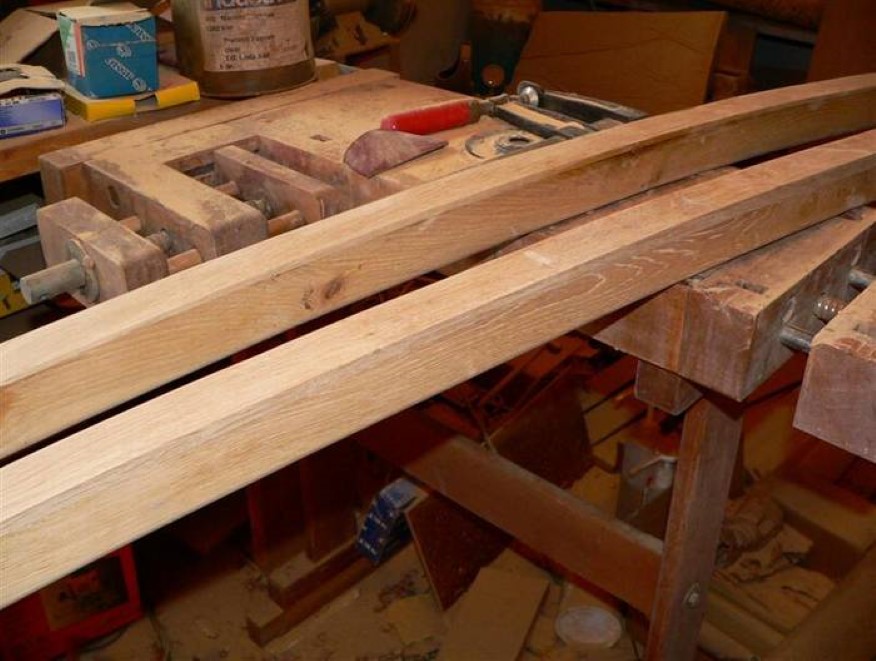
Well, it is now wintertime again, and in the last month, unfortunately, not much progress has been made in the project. I have been very busy at work and we have had a lot of other things to do on the weekends. But I have got the beams corrected and saturated with D1 oil, so they are ready to varnish with D2 varnish - I do it at the same time as the planks for the roof. It was easy to do the beams, I glued oak strips on top of
|
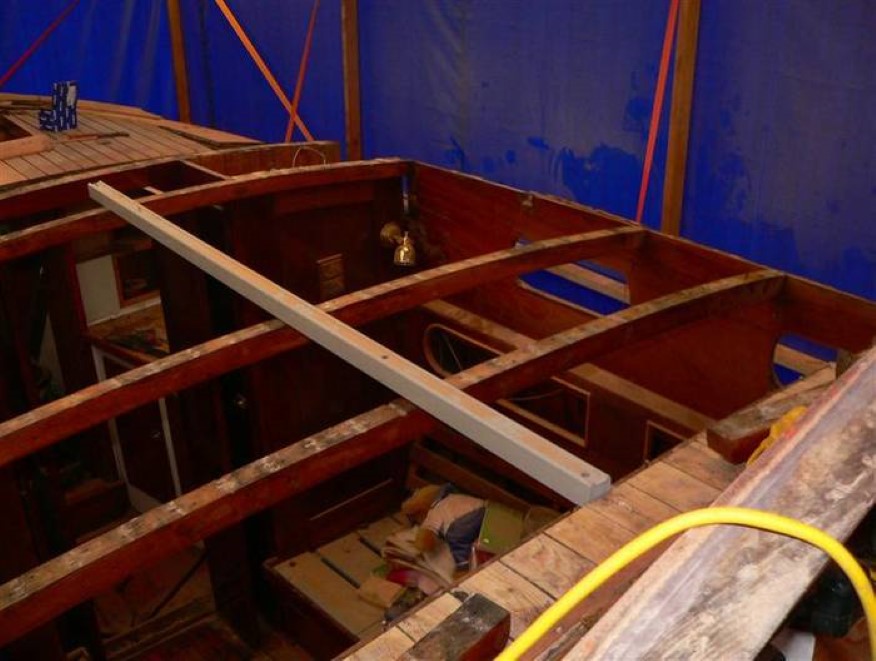
them, put the beams in place in the boat and marked them with a straightedge on top of the bulkheads. Then I could draw the curve with a thin list. I have also finished the interior subframe where the leading-edge and sides will be fastened. I have made the frame of Keruing (Yang teak), which is easy to work with, durable and in addition cheap. Right now I am adjusting the sides and the leading edge, which I expect to mount next week.
|
November 2, 2008:
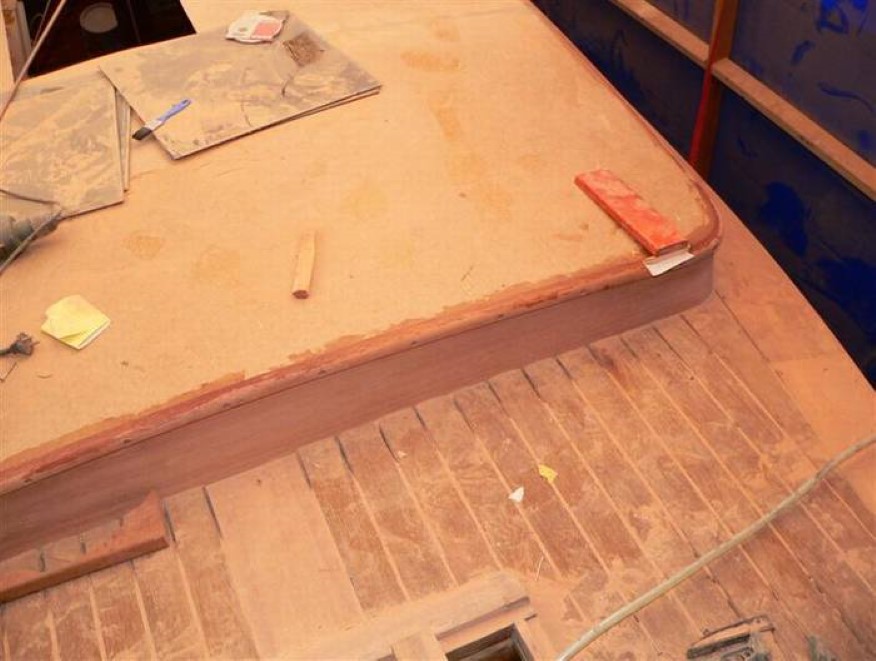
For once, things have been going pretty well without disturbances - this weekend I made a lot of progress and I'm now almost done assembling the sides and leading-edge as well as restoring the round corners. I used epoxy to glue 2 pieces of Mahogany together , so they were actually easy to make. When the epoxy has cured and the corners are sanded, I just need to round the edges on the inside so I won't end up with a hole in my head from a sharp edge
November 5, 2008:
Now the sides, the leading edge, and the round corners are finished. It has really enhanced the lines of the boat, now it looks like the constructor originally wanted it to look. The next one will be the side deck and the 2 missing teak bars.
November 30, 2008:
I'm almost done with the foredeck, I still need to sand the deck and clean the joints on the starboard side. The port side is cleaned - what a shitty job! It's too cold to work in the tent right now. The epoxy needs more than 5 degrees Celcius to cure properly so I have moved into the garage to take care of some of the loose ends. Right now I'm working with the skylight.
|
December 23, 2008:
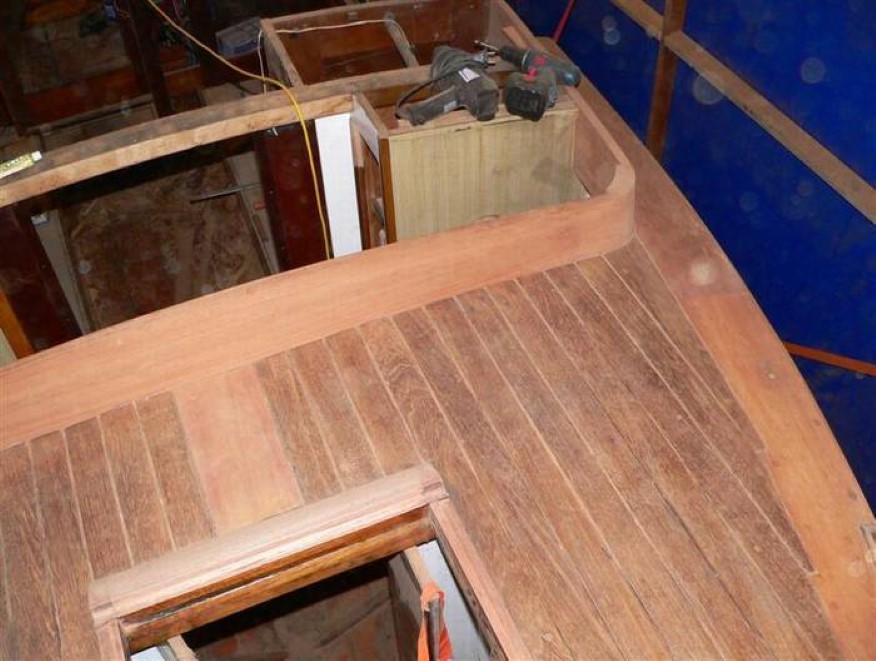
The weather has been good for the last few days, but since December is a month of busyness in the computer industry, I haven't made much progress with the boat project. But now the foredeck is completely finished, it only needs to be caulked and thus the repair of the side deck is also completed.
The next will be the cabin inside as well as a new deckhouse roof, and I expect to spend most of the holidays between Christmas and New Years eve in the tent working on the boat.
February 15, 2009:
I haven't been able to do much since Christmas, it has been too cold to work in the tent, and I've had some problems with my stomach - damn!
|
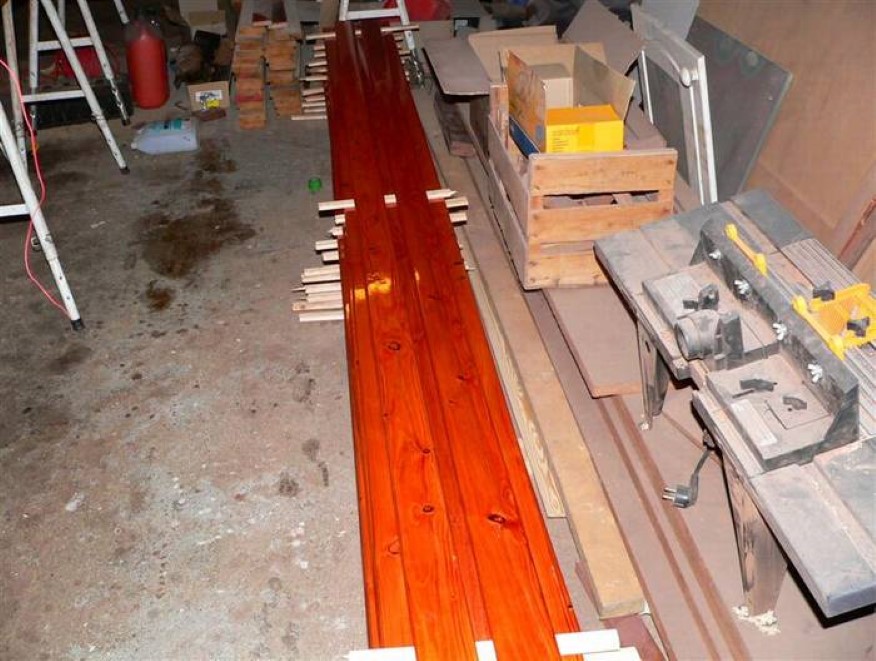
But in spite of that, I have managed to cut all the planks for the new roof, planed them and rounded the edges with the router and finally saturated them with D1 mixed with mahogany stain and varnished with D2. For the sake of durability, I chose to use larch instead of pine. It might not be quite as pretty, but I think they look good once they are stained and varnished. So now I just need some warmer weather so I can get the cabin varnished on the inside. April 6, 2009:
Now I have finally come so far that I can put on the new roof. The cabin is finished inside, but the planks for the roof wasn't dark enough, so I had to give them a few coats of Epifanes varnish mixed with a little with stain to darken them. I'll be using Epifanes varnish instead of Owatrol D2 from now on, it looks much better and the UV protection is also better.
|
It is not easy to get the new planks to line up properly with the old ones under the wheelhouse. The old planks vary in width and some of them also have some distance between them. Fortunately, they are only visible from the beneath, and the joints are on top of a beam, so it's practically not visible unless you look exactly for it. April 13, 2009:
So Easter is over and I'm back at work, but there has been a lot of progress with the boat during the holidays. The deckhouse roof is now finished, the only thing missing is the edge moldings. The construction of the roof is not free of flaws, there should have been beams on each side of the skylight, connected to the beams across the roof to distribute the load from the mast. I think they left them out because they would make it impossible to move around in the cabin without banging the head against them. I decided to leave it that way, and instead, I
|
reinforced the roof by gluing strips in the joints between the planks around the skylight. I have chosen to use oil-cured masonite instead of fiberglass on top of the roof planks. I don't want any plastic on the boat if I can avoid it, it's, after all, a wooden boat and oil-cured masonite is a very durable material that works way better on an old boat. I glued the masonite with Tec 7, but in all edges, joints and the outer 5 cm is glued with epoxy. Beneath all joints there are strips glued in the joints between the planks, which will make it tight and strong. The moldings around the roof will be glued on with epoxy and the holes for the screws will be plugged so water will be kept out. ' April 23, 2009:
I am now almost done assembling the edge moldings around the deckhouse. It was a huge job that took
|
many hours, especially the corners were time-consuming. But the result is very good, and now I just have to fill a few low spots and cracks and sand the roof a bit, then I'm done. I have now started to repair the aft cabin.
May 6, 2009:
The moldings are now plugged and sanded, I only need to do the final filling and sanding on the roof.
May 17, 2009:
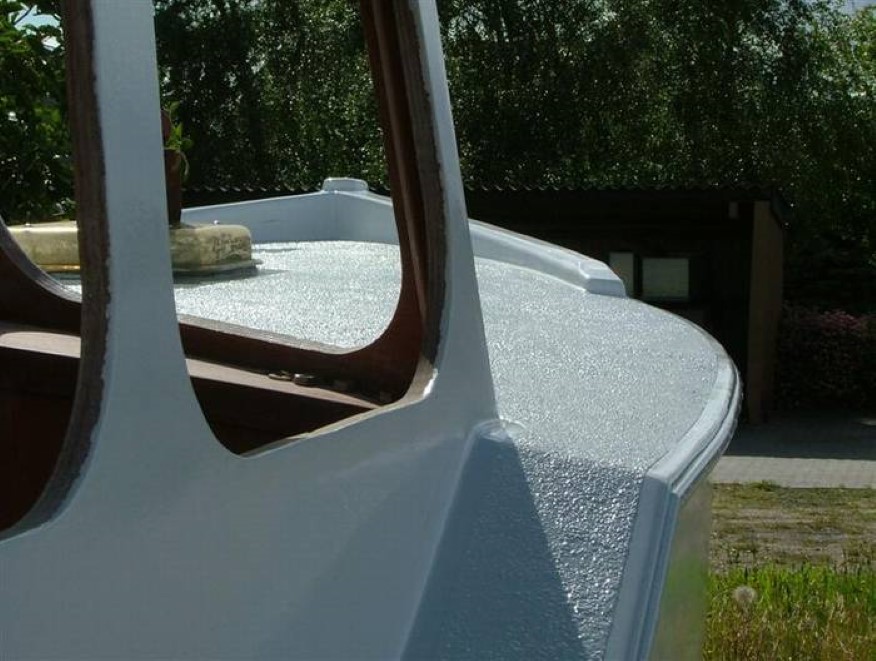
I am installing skylight and handrails as well as the dorade vent.
|
It is necessary to mark the fields where the non-slip paint will be applied. I intend to do as I did on my old boat - sprinkle sand in the primer and paint on top of it. It works really well, you can see the result on my old boat in the picture next to this. I will make it less rough this time though.
|
|
|
|