|
|
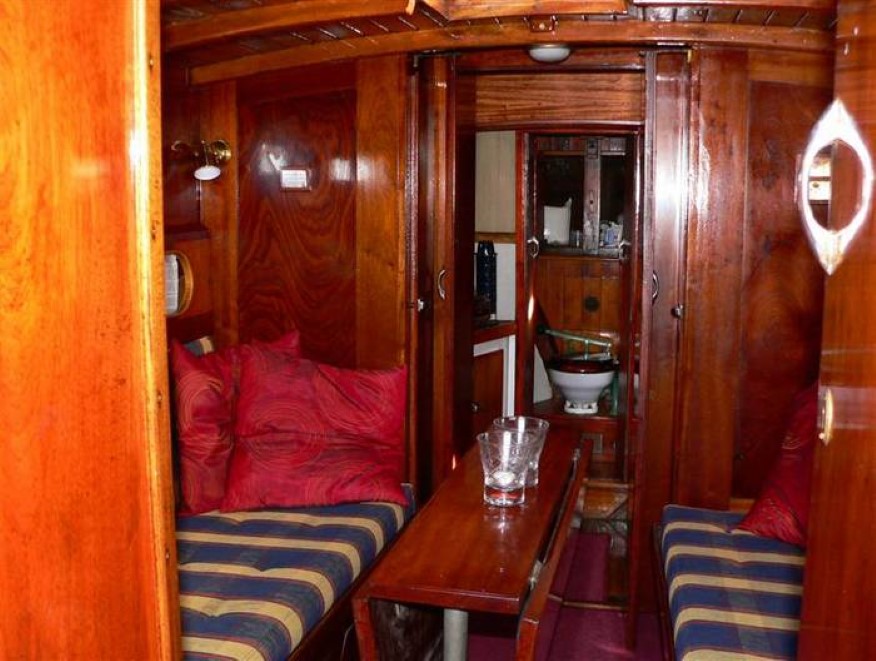
Now that I have removed the roof, I just renovate the main cabin. The original finish is a bit rough, so I decided to improve it a little by rounding the edges and installing edge moldings. So all the varnish needs to come off, but it's not that hard to do now the roof is gone. The mahogany is stained so it needs to be sanded thoroughly to avoid uneven color.
However, I'll skip the doors this time, they look acceptable for now, I'll probably fix them in the winter after the first season in the water.
The windows of the cabin were originally made with interior glass, but at some point, they have been replaced with the current stainless steel windows. The end of the original holes have been cut out to allow
|
room for the new windows, but it looks horrible. I have tried to fix it, but the result is not satisfactory, so I'll repair them properly at a later time.
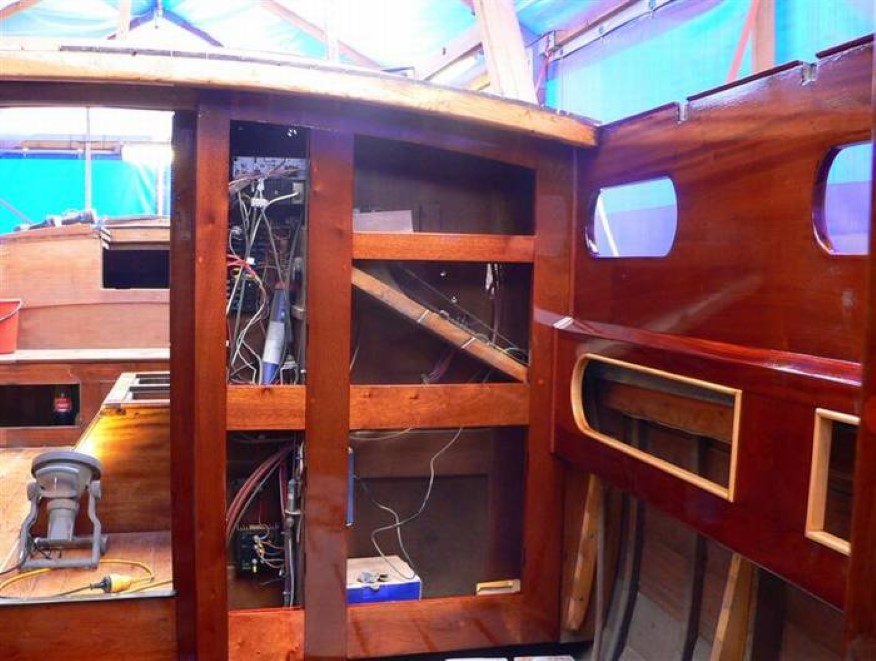
I have previously removed the front edge of the cabinet on the starboard side, which was so skewed that the door could not be closed. I took it completely apart and glued it together in the right shape. So now the door can be closed and it fits perfectly. March 16, 2009:
It's really fiddly work, but now I'm just about ready to varnish the inside of the cabin. I have made a new staircase - the old one was not particularly well made, the joints gaped 4-5 mm.
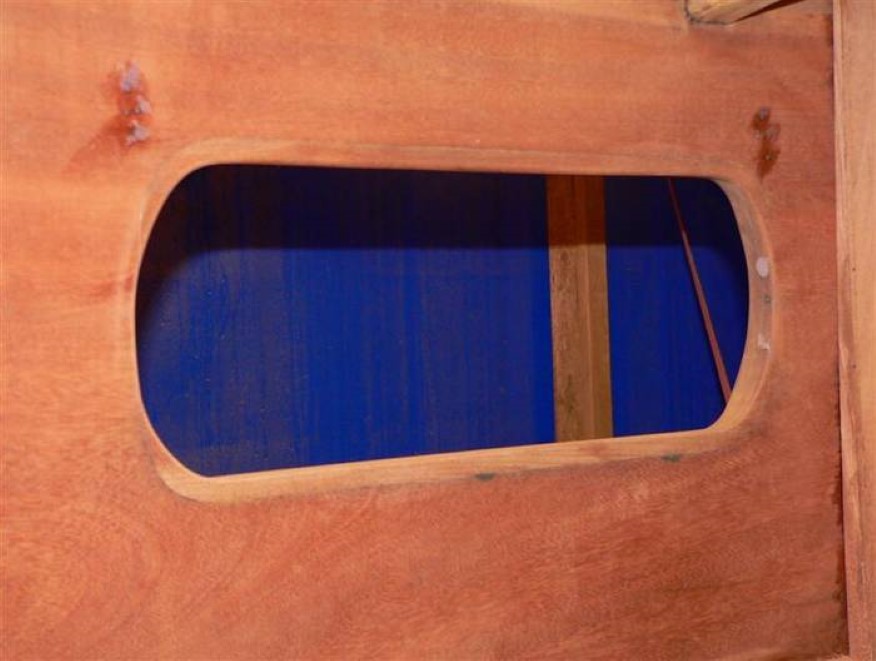
The cabin windows have been bothering me for a long time. I don't think the solution with a stainless steel edge and a rubber strip is particularly smart. It can easily leak and it doesn't look so nice. The problem with changing it is that the outer edge of the holes in the cabin sides has been cut off, but as a temporary solution, I have decided to re-create the edge with epoxy. I'll make the windows of 3 mm polycarbonate and mount them without the rubber. They will be sealed with Ettan wax so I can get them off again. It will look a lot nicer.
I mount all inner edge moldings before mounting the roof, which is not the normal way of doing it, but it has the advantage that I can varnish everything at once, and when the roof is mounted, I'm done inside the cabin.
|
March 22, 2009:
I have now finished all the woodworking and sanding, so now it needs some color. I'll stain everything except the cabin sides - they have the right color already - and after that, everything will get saturated with oil. I expect it to take the whole weekend. The color of the image on the right is cheating because of the flash - the wood is much darker in reality
April 4, 2009:
Now the interior of the cabin is varnished - frankly, I have been looking forward to get out of there. I have saturated everything with plenty of Owatrol D1 and applied 4 layers of Epifanes varnish on top. I have opted out of the Owatrol D2 varnish, because I got tired of it when I varnished the beams. It was completely impossible to avoid a runner along the edge all the way across, no matter how careful I was. So I let it dry, sanded it and gave them
|
Epifanes instead.
I need to give the underside of the roof a few layers of varnish mixed with stain, because they no longer have the right color. The stain disappears into the wood over time, so even though the color was nice when freshly varnished, they are now way too bright. Damn!
|
|
|